
 |
| Cue angelic choir. This is a beautiful piece of equipment. |
This weekend, I did a little sitting. But it was active! I cleaned and oiled my newly adopted sewing machine!
The things I know about the sewing machine include what I've learned from
a) my community class on sewing when I was 14-15 years old,
b) my Mom, or
c) the instruction manual on my newly adopted machine (thanks Rick and Dot).
 |
| Pick me! Pick me! |
What do I know? I know thread is fed through the top and combined with thread at the bottom. It's metal, some plastic (newer models), and it needs to be maintained. Singer (the company who made my machine) is one of the oldest and well known manufacturers of machines. The moving parts are incredibly complicated. And...that's it. :)
So let's look at a little history first via Wikipedia.
Did you know that the first sewing machine was created in order to work with leather and extremely thick cloth like canvas?
 |
| Ooooh! |
 |
| Mr. Howe's Invention |
Did you know that Singer's first love was acting, he tried to create a rock drilling machine and a wood cutter, or that he was "married" at least five times (sometimes two or three at the same time) with 16 children?!!!!
 |
| Isaac Singer. Not sure what's so great about this guy. Nice clothes? |
Or the key indicator that you need to clean your machine is a build-up of lint in the bobbin seat?
 |
| Yuck! It'll look like this, but in the bobbin seat. |
Neither did I!
Now that we're officially wowed by the sewing machine, take a look at the steps I took to clean and oil this very complicated and well-known machine.
First, I bought or just gathered:
- sewing machine oil (with a long spout)
- q-tips
- canned air
- paper towels
- trash can
- newspaper
- screw driver (came with my sewing machine)
- lint-free brush (came with my sewing machine)
- light, lots of light
 |
| Not sure why this is sideways! |
Then I blew out some of the lint with the canned air (trying not to blow lint further into the machine).
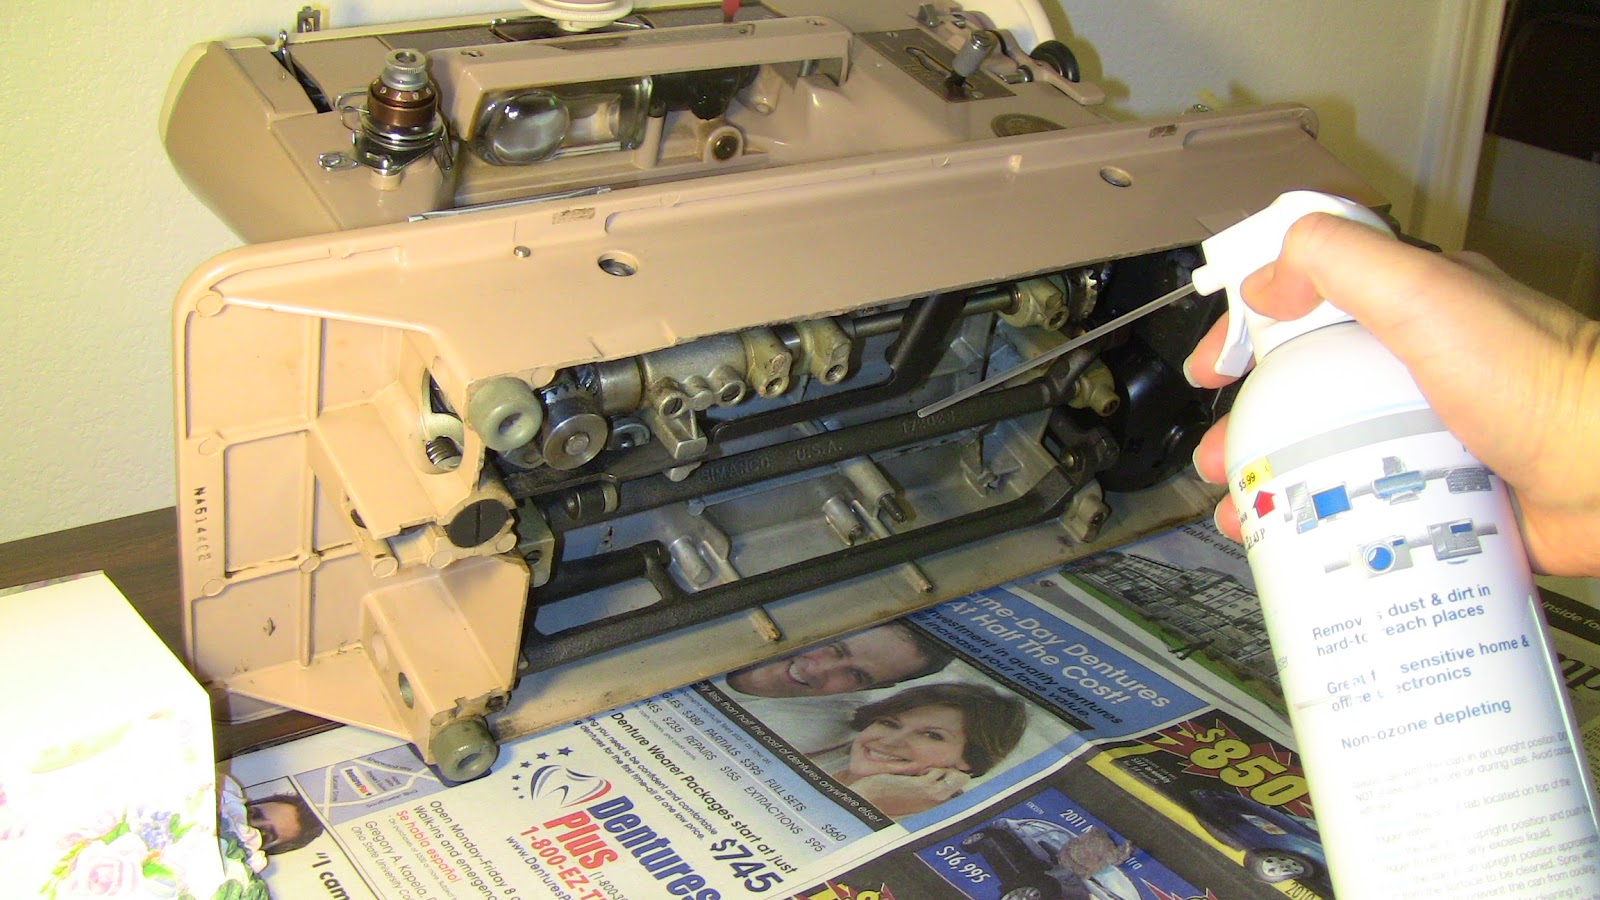 |
| Bottom of the machine with newspapers underneath. |
I used q-tips to get rid of the stubborn lint and gobs of old oil (will look dark or yellow...like poop...had to say it) with lint. Several people will tell you that it'll only take 4-5 q-tips, I used about 20-25 because my machine hadn't been cleaned in a while. So just grab the container in preparation.
 |
| Special disk seat (for embroidery). |
 |
| Drive shaft area above the needle. |
 |
| Bobbin seat. |
 |
| The nether regions. |
When I removed the bottom panel of the machine, I noticed a fine layer of blackened oil (that had dripped from the moving parts above over time) on the panel. I squirted it with oil and rubbed it off with a paper towel. I didn't want to use water because it might encourage rust to form.

Then I oiled. Thankfully my manual showed all of the exact points to drop the oil. If your manual doesn't specify, adding one drop to each moving joint or gear face should take care of the job. I also brushed some of the exposed metal pieces with oil to prevent rust.

Now it's time to sew! And a little more reading of my manual. :)
No comments:
Post a Comment